
Ever found yourself frantically searching for your iPhone, only to realize it’s right under your nose? Technology can be a bit of a trickster sometimes. But what if you could switch your iPhone’s location to your Mac and keep your devices in sync? Imagine the convenience of managing your digital life from one central hub, effortlessly navigating between your devices like a tech-savvy magician.
Understanding Location Services
Location Services enable devices to determine their geographical position. These services enhance various applications and features across devices, improving user experience.
What Are Location Services?
Location Services refer to technologies that determine the position of a device. GPS, Wi-Fi, cellular networks, and Bluetooth assist in providing accurate location data. Users can view their current location, receive directions, and locate lost devices using these services. Every iPhone and Mac integrates Location Services to deliver personalized functionality.
Importance of Location Sharing
Location sharing plays a crucial role in device management and navigation. It allows users to track devices, share locations with friends, and access location-based applications. Enhanced safety features, such as sending alerts during emergencies, depend on accurate location sharing. Synchronizing an iPhone’s location with a Mac facilitates seamless transitions between devices.
Steps to Switch iPhone Location to Mac
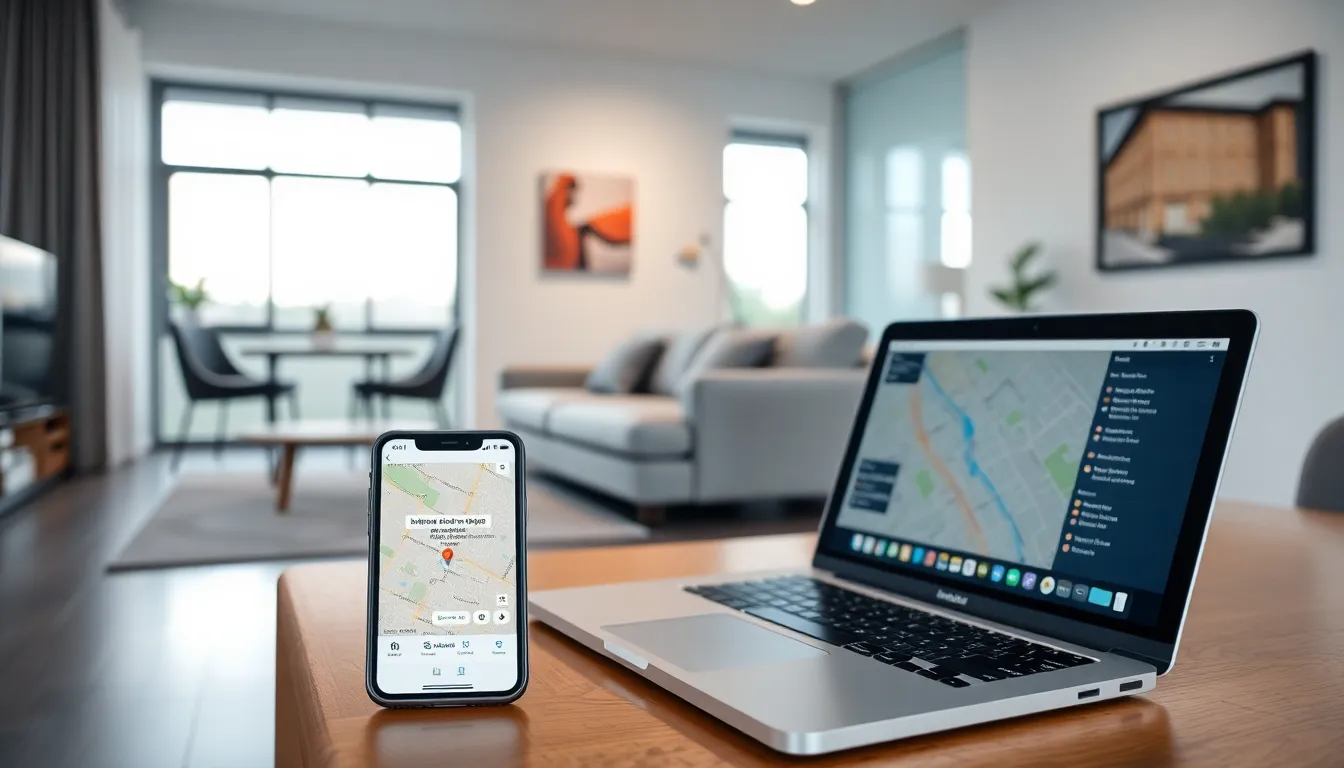
Switching an iPhone’s location to a Mac enhances device management and tracking. Follow these steps for a seamless transition.
Preparing Your Devices
Ensure both the iPhone and Mac are connected to the same Wi-Fi network. This connection enables smoother communication between devices. Activate Bluetooth on both devices for added functionality. Confirm that Location Services are enabled on the iPhone. Go to Settings, tap Privacy, then Location Services to check the settings. Check that your Mac’s operating system is updated for optimal performance. This updates compatibility features for sharing location data effectively.
Using AirDrop to Share Location
Open the Maps app on the iPhone to begin sharing the location. Tap the blue dot that represents your current position to access location options. Use the Share My Location feature to bring up AirDrop options. Select your Mac from the available devices. Accept the incoming location notification on your Mac to view the shared location. This enables real-time updates, providing accurate tracking on your Mac. Adjust settings if notifications are not visible or if access permissions need modification.
Troubleshooting Common Issues
Issues can arise while switching an iPhone’s location to a Mac. Addressing these problems promptly ensures that users maintain effective device synchronization.
Connection Problems
Connection issues can stem from various sources. Ensure both the iPhone and Mac are on the same Wi-Fi network. Additionally, check that Bluetooth is activated on both devices. If problems persist, resetting the network settings on the iPhone may help. Restarting both devices often resolves temporary glitches. Users can also verify that AirDrop is enabled and set to receive from “Everyone,” not just contacts. These steps usually resolve most connection problems, allowing for seamless location sharing.
Accuracy of Location Sharing
Accuracy in location sharing can sometimes be compromised. Ensure Location Services are enabled on the iPhone. If discrepancies occur, verify the device’s settings to confirm location accuracy. High-accuracy modes in Settings may enhance the precision of GPS data. Moreover, obstacles like buildings and weather can impact GPS signals. Regularly updating iOS on the iPhone and macOS on the Mac improves overall device performance. Users can periodically check their location settings to ensure they are correctly configured, enhancing the reliability of shared locations.
Exploring Additional Tips
Consider enhancing location sharing capabilities with third-party apps. Applications like Life360 offer added features such as real-time location tracking and location history, providing more versatility compared to stock options. Users can add family members or friends for easy sharing, enhancing safety and communication. Other popular options include Glympse and Geo Tracker, which allow for temporary sharing and help manage privacy settings effectively.
Maintaining privacy while sharing location remains essential. Users must configure privacy settings to control who sees their location. Enabling options like “Share My Location” selectively allows for a tailored sharing experience. It’s important to regularly review sharing options in both built-in features and third-party applications. Monitoring location accuracy and restricting access to trusted contacts enhances security. Users can change sharing preferences anytime to protect their privacy while still enjoying location features.
Switching an iPhone’s location to a Mac opens up a world of convenience and efficiency for users. With the ability to synchronize devices seamlessly it’s easier to manage and track them. The steps outlined ensure that both devices are prepared for optimal performance while troubleshooting tips help resolve any issues that arise.
By leveraging Location Services and third-party apps users can enhance their experience even further. Staying connected with devices not only simplifies navigation but also boosts safety and security. Embracing these features allows users to enjoy the full potential of their Apple ecosystem while maintaining control over their privacy.